Embrace Retro Vibes: What Is Y2K Fashion Revealed
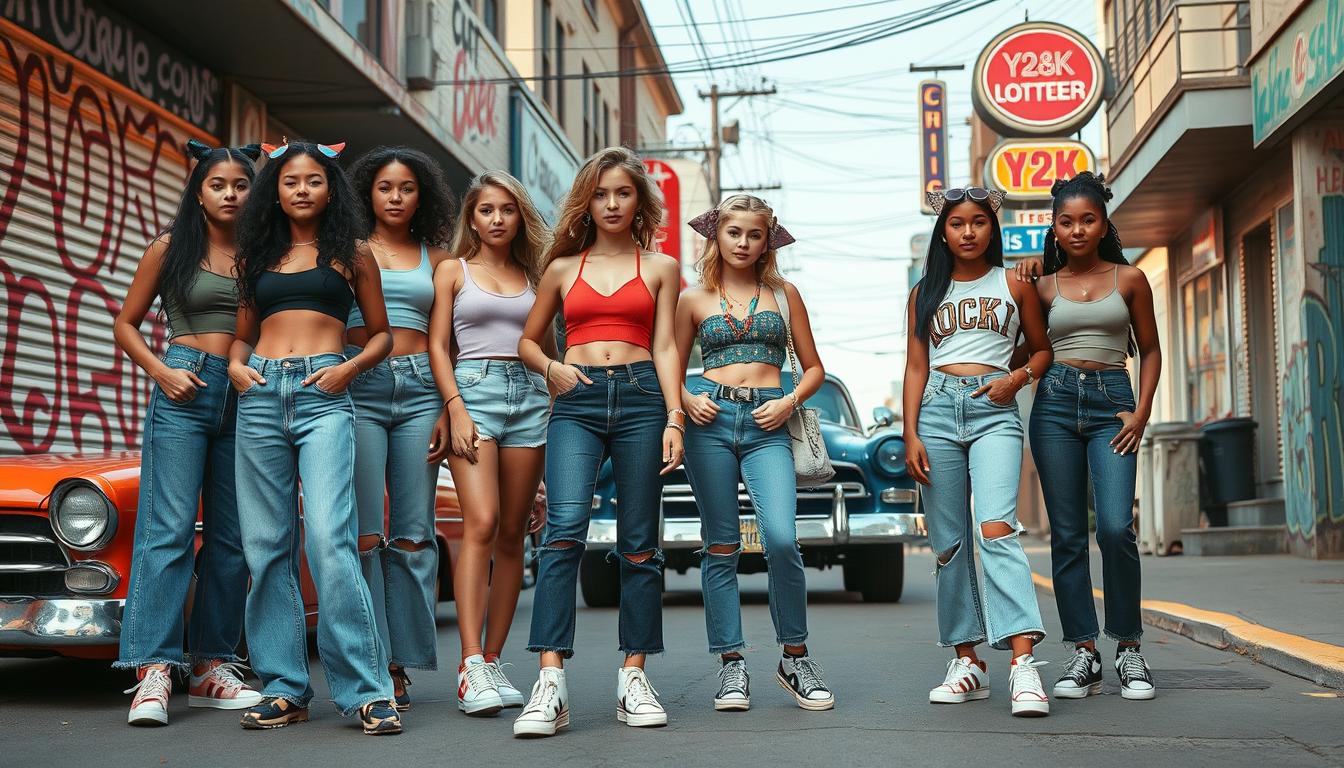
Dive into the nostalgia of the early 2000s with our exploration of what is Y2K fashion. Discover the iconic trends that are making a comeback!
Dive into the nostalgia of the early 2000s with our exploration of what is Y2K fashion. Discover the iconic trends that are making a comeback!
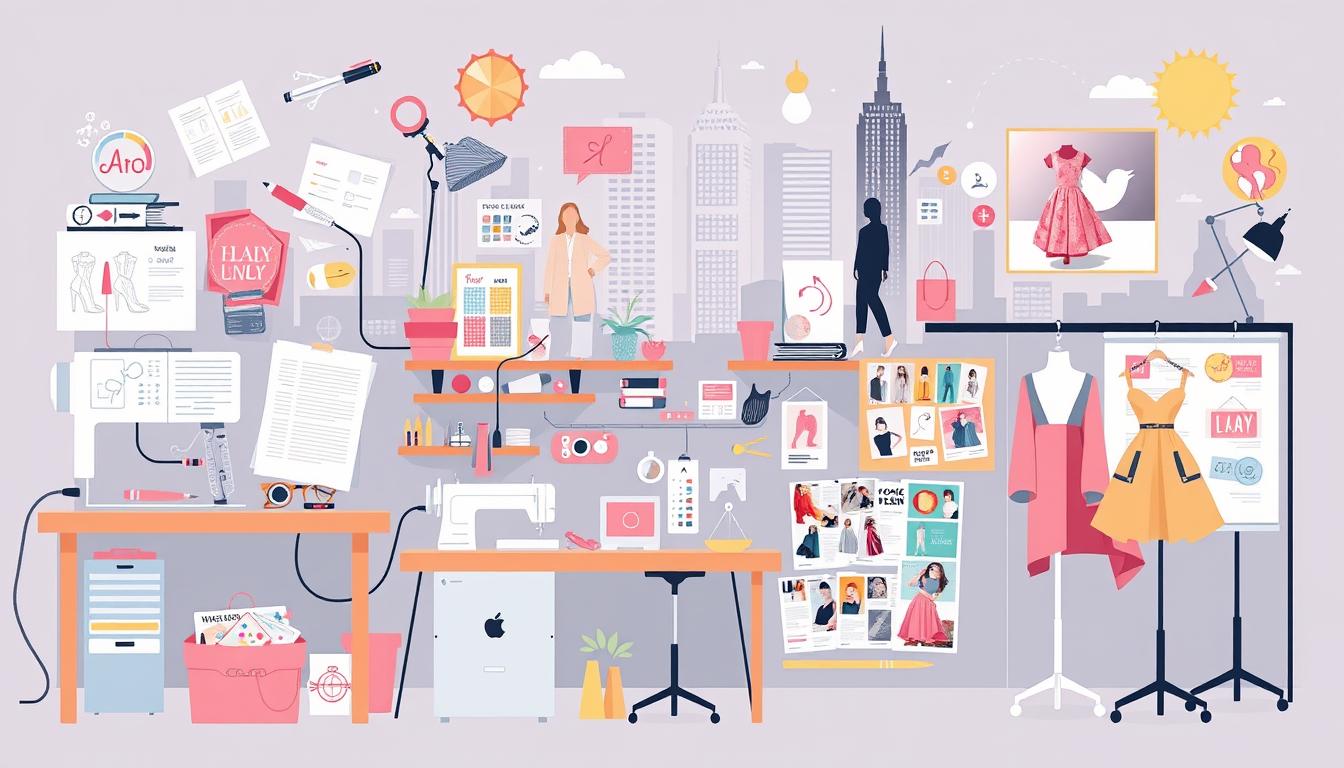
Unlock the secrets of how to become a fashion designer with expert tips and a detailed career guide in our latest article.

Solve the fashion puzzle with our hints for the ’80s fashion now crossword clue. Discover iconic looks and vintage trends for stylish nostalgia!
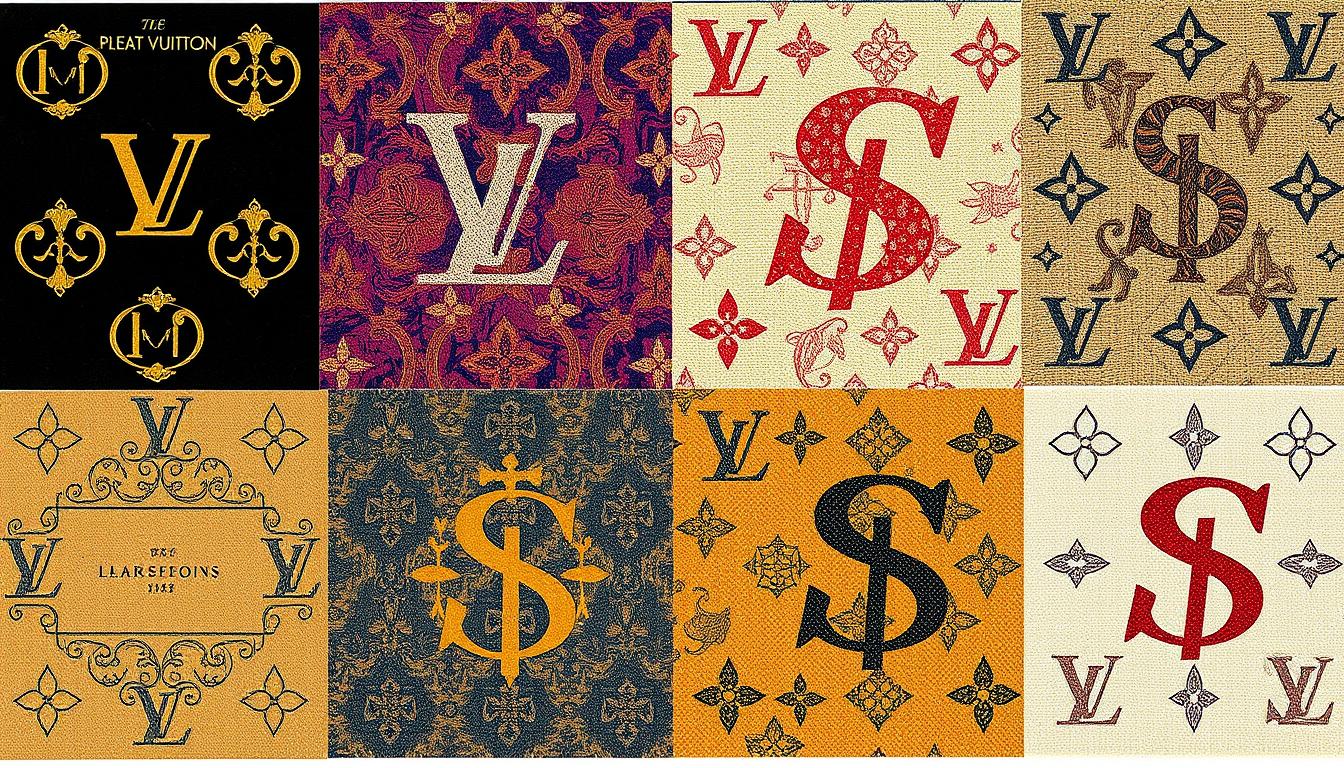
Explore the journey of French fashion monogram since 1962 and its evolution into an emblem of luxury Parisian design and timeless elegance.